

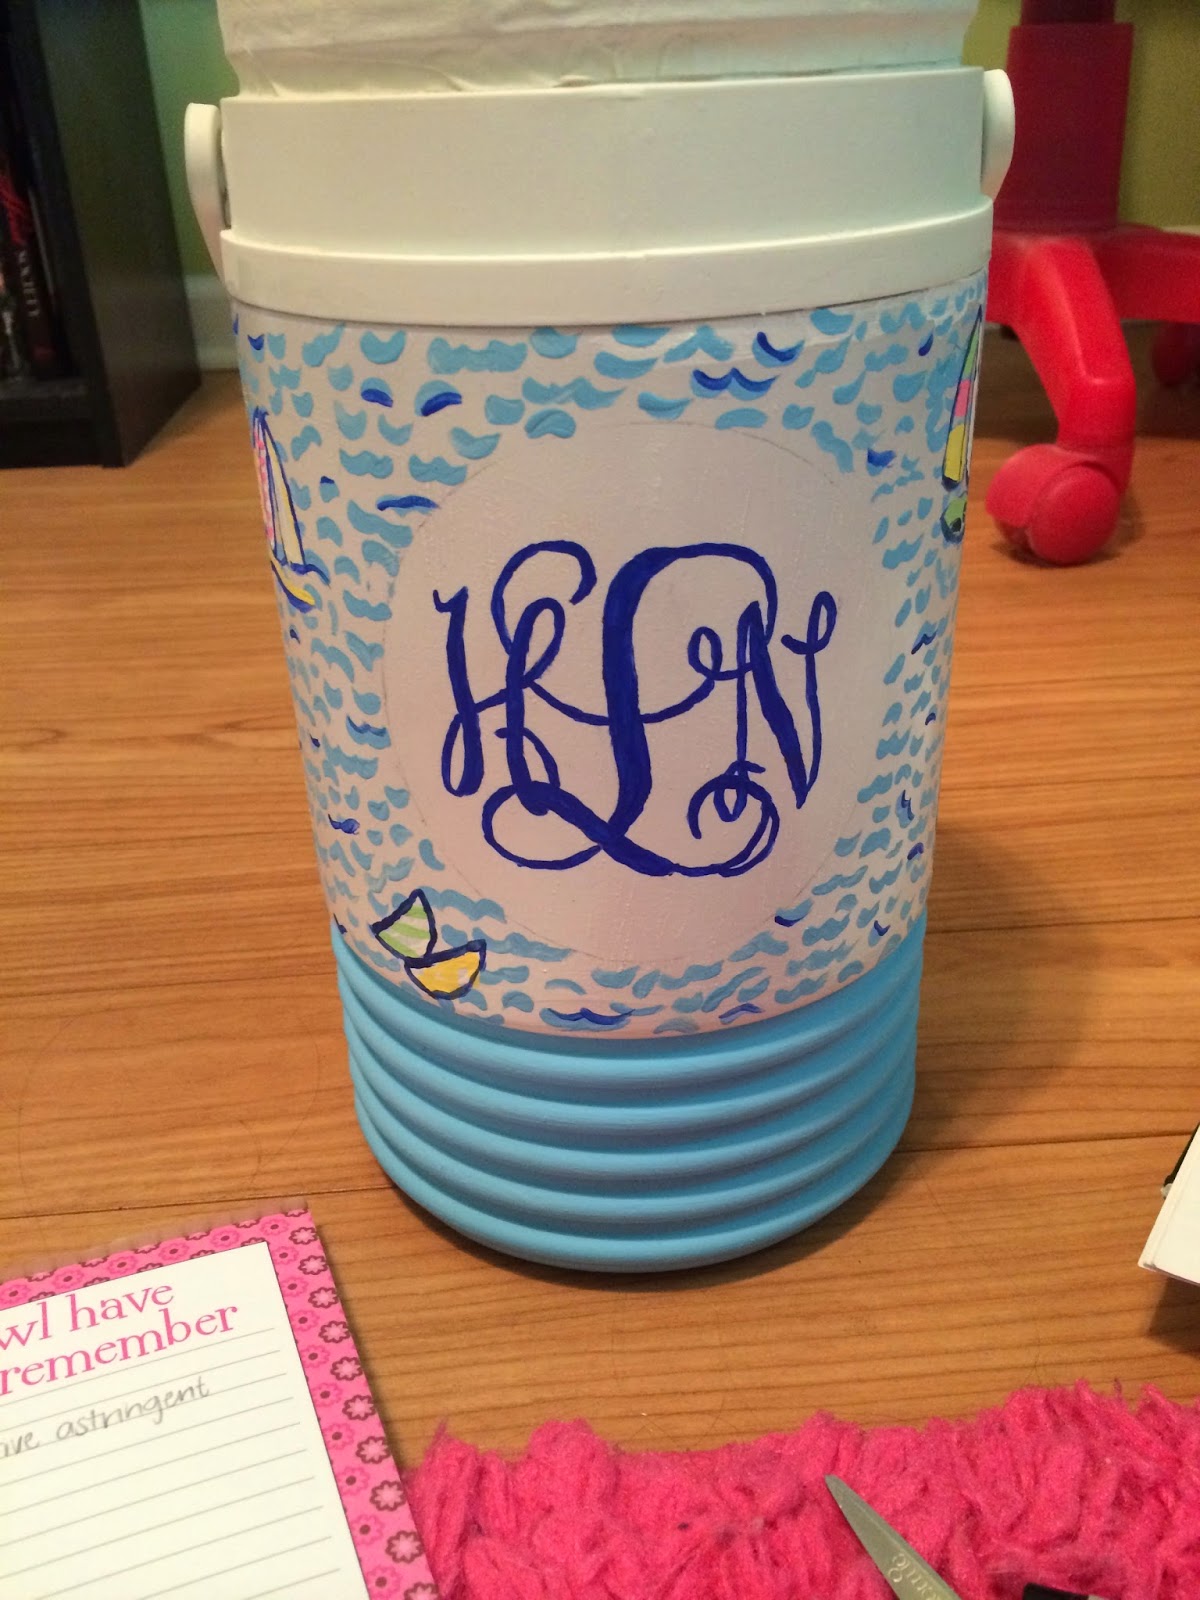
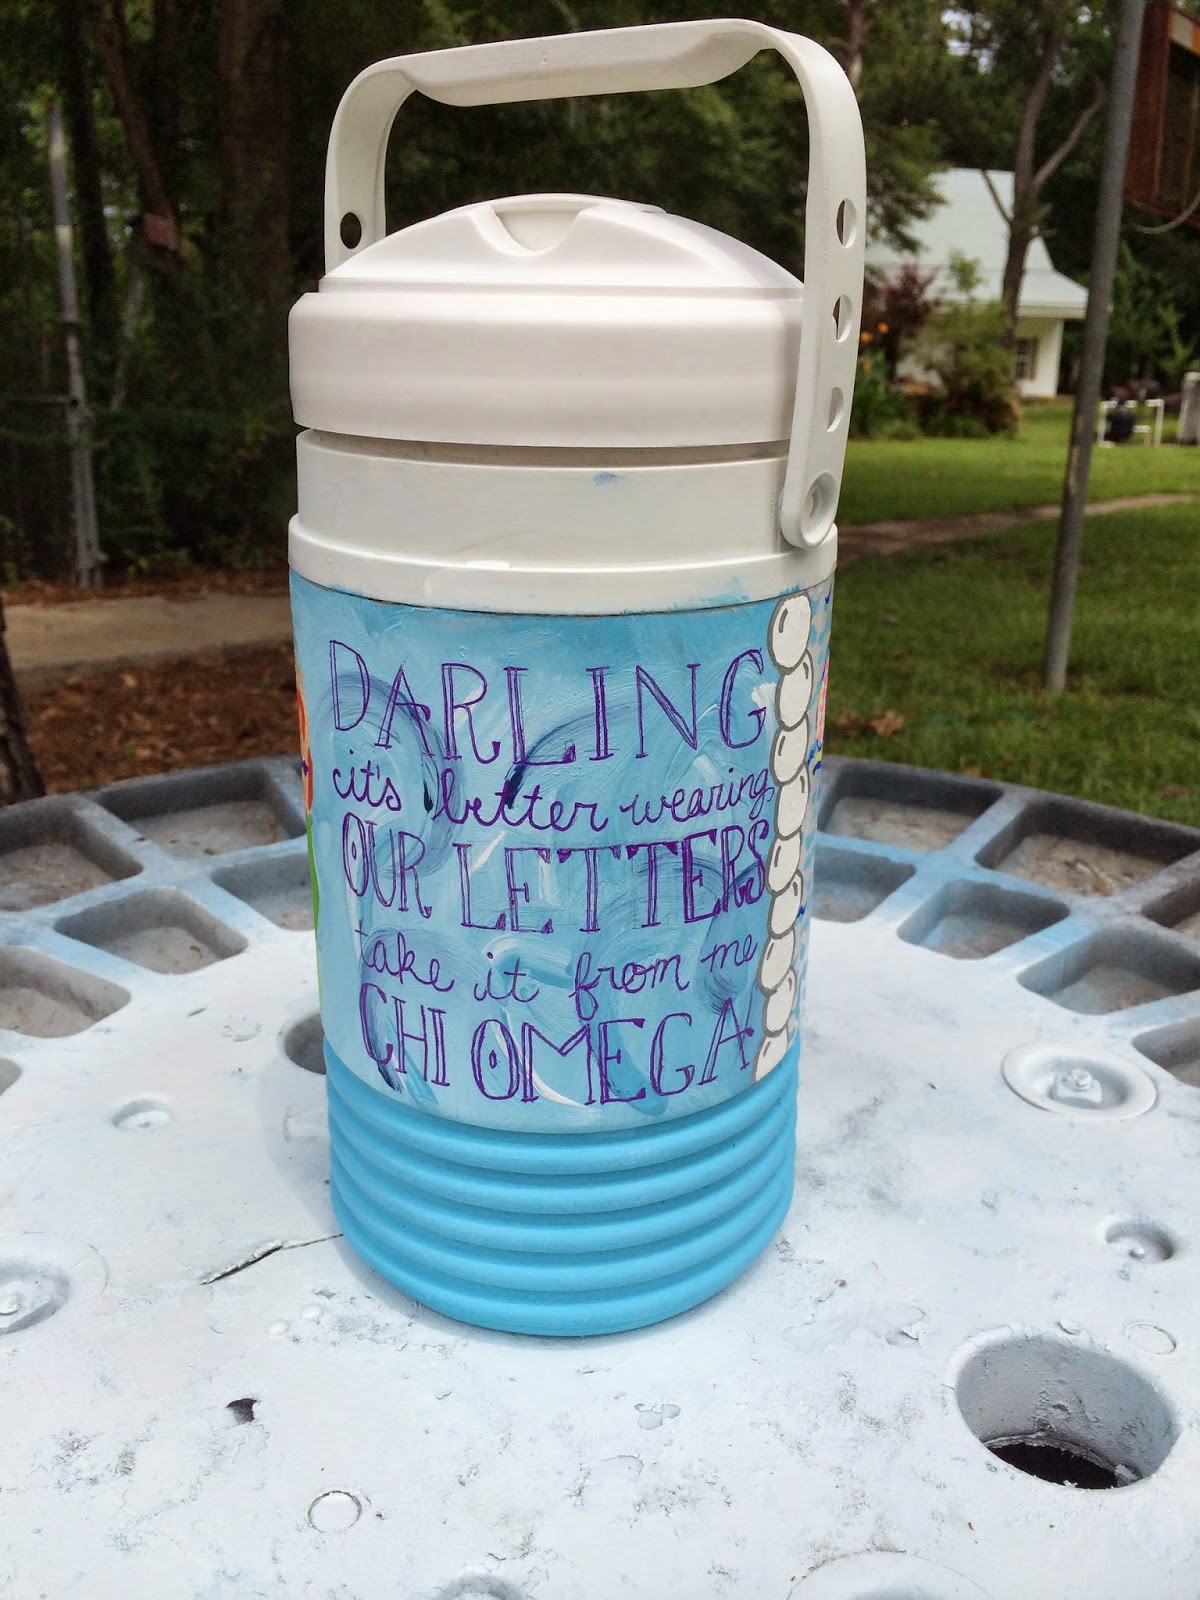
I FINALLY finished my cooler jug. I have been through quite a lot with this particular cooler, and I'm so glad to be finished with it. The first time I painted it, back before Christmas break, I had to completely redo it. I had seen everyone on Pinterest painting coolers, and I thought this would be a great way to start. Plus, it was only $5 at Dollar General! I should have read more into it, because I did not know to sand it. I primed it, taped it off and began to paint. I got one side completely done, and that's when tragedy struck. The painter's tape completely peeled off my primer and all of the paint. Being me, I got upset and didn't touch it for a few more months. I was bored one day while off at school, so I decided to get the cooler jug back out and sand all of the paint off and get it ready to paint again. I ended up not touching it again for a while due to painting a formal cooler and finals, but I finally got it out a week ago to finish it. I painted Lilly Pulitzer's You Gotta Regatta on one side with my monogram, and I got the inspiration for the other side from a shirt I found on the Chi Omega Shirt Swap. I freehanded everything on the cooler jug except for my monogram (and the mermaid, but my brother drew that so it still counts right?) So you don't end up like me the first time I tried to do this, here are a few tips.
1. SAND THE COOLER!!!
2. Prime. I use Krylon for plastic primer in white. (It says no sanding required, but you have to sand to get the smooth finish off so the paint has something to adhere to.)
3. Pick out your designs. I love Lilly, and You Gotta Regatta seemed fairly simple to paint. But be warned, it was a lot more time consuming than I thought. The trick is to pick something that will work with your skill level so you don't get frustrated. I am a decent painter, but I don't do anything super intricate because I get frustrated with myself if I don't get it exactly how I imagined it. (I'm also a bit of a perfectionist…)
5. Paint! Below I'll show you the progress of painting my cooler. I forgot to take pictures of some parts, so just bear with me!
6. Seal it so the paint doesn't chip off!


If your cooler jug has ridges around the bottom like mine, it's easier just to paint it a solid color that coordinates with both sides instead of trying to paint on them.
Once you're finished, just Mod Podge and clear coat. On The Cooler Connection people suggest using MinWax polycrylic to seal, but I haven't tried that yet. I just use a Krylon clear coat spray over the Mod Podge.
Here is the finished project!!

I would love to see your projects! Just send them to me on Pinterest or leave a comment with a link to the pictures!


No comments:
Post a Comment